Pro Series Double-Wall Soaker Hose 25′ x 5/8″
Benefits of a Drip Irrigation System
Saves Water: Studies show that drip irrigation systems use 30 – 50% less water than conventional watering methods, such as sprinklers.
Improves Growth: Smaller amounts of water applied over a longer amount of time provide ideal growing conditions. Drip irrigation extends watering times for plants, and prevents soil erosion and nutrient runoff. Also, because the flow is continuous, water penetrates deeply into the soil to get well down into the root zone.
Discourages Weeds: Water is only delivered where it’s needed.
Saves Time: Setting and moving sprinklers is not required. A timer can be added to the system for automatic watering.
Helps control fungal diseases, which grow quickly under moist conditions. Also, wet foliage can spread disease.
Adaptable: A drip irrigation system can be modified easily to adjust to the changing needs of a garden or lawn.
Simplest Drip Irrigation Methods
Start by drawing a map of your garden and yard, showing the location of plantings. Measure the distances required for lengths of hose or plastic tubing to reach the desired areas.
Good products at Ewing.
Soaker Hoses
Soaker hoses”sweat” water from tiny holes along the length of the hose. They emit water slowly and continuously along the hose length, with a 2-3′ watering width. These hoses can be set on the ground or buried under mulch. They have brass fittings which easily attach to any hose or hose bib.
To install, simply lay along the ground or weave between plantings, cut to length, and add hose fittings and end caps. Best for relatively level sites and runs of 100 feet or less, soaker hoses operate with as little as 8 lbs of water pressure. Regulators are available for sites which are more sloped.
Learn more or buy a soaker hose.
Noodlehead Lawn and Garden Sprinkler
Sprinkler Hoses
Sprinkler hoses spray a fine mist of water into the air. They look like flat hoses with perforations all along their length. For a drip-irrigation effect, simply turn sprinkler hoses over, so the mist is directed straight into the ground. Sprinkler hoses have fittings and end caps for simple attachment to any hose or bib.
Good products at Ewing.
Sprinkler hoses are easy to install: just lay the hose on the ground and screw to the hose line. However, because they are flat it’s more difficult to weave around tight curves. The spray can also cause erosion if the water pressure is too great.
Good products at Ewing.
You can also make your own sprinkler hose from old garden hose by piercing holes in a pattern to direct the flow where you want it. Use a hot needle to pierce the hose, and be sure to crimp the end of the hose line.
Use “Y” connectors to add more lines. These are available in plastic or brass. Lay the hose on the ground and work it between plantings and along rows as desired. Be sure the hose ends are closed.
The advantages of an above-ground “soaker” system are low cost, ease of installation, and ease of moving the system during cultivation and planting. And no assembly is required.
The disadvantage is the less precise control of water distribution: the entire hose line is watered, not just specific spots along the line.
Good products at Ewing.
You can also use an automatic timer for this system. Ask at your local garden supply, or at the online links listed below, for more information regarding specific models and features.
Snap-Together System
Prepare:
Measure your plot to determine how much tubing you’ll need. These measurements don’t have to be exact: the tubing comes in a large roll, which is cut to length in place, as you go. The total run of submain, on any one circuit, should not exceed 400′. Note how many ‘elbows’ or ‘tees’ you’ll need. Sprinkler Install Tulsa
Decide where you want the emitters and how many you’ll need. Space emitters 12 – 20″ apart depending on soil type. Sandy soil, for example, will require closer spacing than loamy soil. A one gph (gallon per hour) emitter will cover a 12″ diameter in sandy soil. When installing the system, begin with just one emitter and test for wetness diameter. For large plantings, shrubs, or trees, several emitters may be used around the planting to encourage the roots to grow outward in all directions.
Components:
Components for a snap-together system often come in kit form. Just show your plan, with measurements, to your drip irrigation supplier. Parts from different systems are usually interchangeable. The basic parts you’ll need are:
Good products at Ewing. Sprinkler Install Tulsa
drip irrigation components at faucet
Filter
Water pressure reducer
Anti-siphon device
Emitters
Good products at Ewing.
1/2″ or 5/8″ flexible polyethylene tubing (for submain)
1/4″ tubing with pre-punched holes (for drip lines)
Connecting ‘tees’ and ‘elbows’
Automatic timer (optional)
drip irrigation components: anti-siphon Sprinkler Install Tulsa
1. Attach anti-siphon, filter, and pressure-reducer to hose bib. If you are using an automatic timer (below), it will be installed above the filter.
2. Run the submain along the ground according to your planned layout, starting from the hose bib. Using a small-blade utility knife, cut the tubing where the water system changes direction (elbow) or branches in two directions (tee). Snap the elbows and tees into place. The submain is now installed.
drip irrigation system emitters
Sprinkler Install Tulsa
3. Attach emitters to the submain. Simply punch a hole using an awl or punch tool supplied with your drip kit, and push the barbed end of the emitter through. Install just one emitter at first, and run the water for one hour to test for wetting diameter. This will guide you in spacing the emitters for watering coverage. Don’t forget to cap or crimp the end of the submain before testing.
Good products at Ewing. Sprinkler Install Tulsa
garden sprinkler emitter
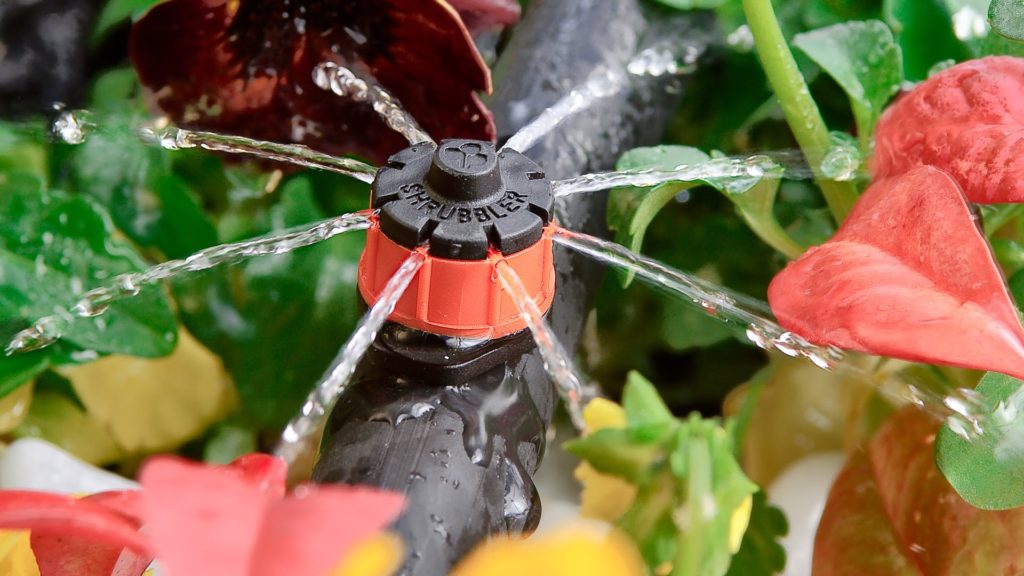
4. A “sprinkler-emitter” (left) can be installed anywhere in the line where you need to water large areas. Use small, connecting barbs to attach the 1/4″ tubing to the submain. The sprinkler-emitter has a stake to raise the head well above ground.
Good products at Ewing.
5. Install “drip lines” (below) for area watering of flower beds and ground covers. Simply punch a hole in the submain and snap on the drip line using small connectors which come with the drip line.
Drip lines emit 1/2 gph through holes spaced about one foot apart. Sprinkler Install Tulsa
drip lines
Good products at Ewing.
6. Seal off the ends of the submain. Simply fold end back over itself and fasten with copper or galvanized wire, or hose clamp. Some kits provide small plastic “figure-eight” style clips which secure the folded-over tube end.